Saturday, January 31, 2015

Fairport Purse & Pouch

I'm back with yet another test bag to show you. Actually it's a pouch but the pattern is for a purse and a pouch. This is the Fairport Purse & Pouch which is the design of Sara Curtis from Radiant Home Studio. I wanted to test the purse but didn't have the hardware needed so opted for this cute pouch and I wasn't disappointed.

I used an upholstery fabric for the yolk and a home decor for the bottom half. I can't wait to get some free time and make it in pretty floral quilting cottons.


The Fairport Purse & Pouch pattern has 2 sizes, 3 closure choices and 2 strap choices. The perfect pattern for a beginner to advanced level. If you're not too confident about adding a zipper closure then you have a magnetic button option or a flap option.


This small pouch measures 8 1/2" W x 7" H and the purse 11 1/2" W x 9" H
The larger purse can also be used as a clutch with instructions for adding a wrist strap or you can add a shoulder strap. So many choices you'll end up wanting to make one of each.

The back of the pouch is exactly the same as the front.


The inside is roomy and uncluttered. No pockets inside.


I love the corners on the pouch and thought they might be a bit fiddly to do but were really easy. Sara's pattern was clearly written with photos and digital photos that are easy to follow.


Here is a photo of Sara's purse and pouch so you can see what the bag looks like and also another version of the clutch. Aren't they just gorgeous.


If you'd like to make one you can buy the pattern HERE. In fact with this pattern you could make a bunch of them all different.

Thanks for stopping by

~ Maria ~


Friday, January 30, 2015

Bags, Pouches & Wallets

With January nearly coming to an end I wanted to post as much as I could that I made this month before February comes along.

First off is the Kentucky Bag designed by Sarah Goodall from Numbskull Patterns. This is the third one I've made exactly the same. This was a custom order after the lady had seen the one that I had made for someone else.


I love this bag and have been using mine ever since I made it. There is a large zipper pocket under the flap at the front


and another on the back.


The inside of the bag is the exact same as the outside with another two large zipper pockets so everything is nice and organized. I couldn't get a decent photo this time round so used one from my other post so you could see.This photo was from the first one I made so the fabric is slightly lighter.


If you'd like to make The Kentucky Bag then you can find it HERE along with another 16 bag designs that are a part of the 50 State Bag Range that Sarah is in the process of designing. I can't wait for the next one.

Next up are some sanitary towel holders. I'd been asked by loads of people to make some of these but quite frankly didn't have the time and couldn't find a pattern. Then I came across a lady who saw my drawstring pouches and said she had the same exact fabric. Not unusual for many of you but it is for me becasue the fabrics I buy aren't found in many other countries. This particular one was from Turkey. I got back to her and asked her where she was from and would you believe she was from Turkey. It's a small world. Anyway I started following her FB page and noticed her sanitary towel holders. I asked if she had a pattern but she didn't but she did give me the measurements so I quickly made up a bunch of them.


You can see Yasemin's on her blog post HERE which she made in that fabric that's like mine. She has also used a different closure on hers. I'll have to try that one too and HERE is another one which is a trifold design with a cute bow embellishment. If you want to see all her designs in one place then this is her FB page. I just spotted a lovely duffel bag on there.

Now I want to show you a couple of bags that are really quick and easy to make. The Get Up And Go Bag by Jane at Projects by Jane. Jane's patterns are all so easy to follow and all her patterns are suited for beginners. I've made loads of these in the past.

I love this floral fabric becasue it has a velvety feel to it. You can find the pattern here on CRAFTSY or ETSY


And last but by no means least are some wallets designed by Anna of Noodlehead. This is a free tutorial which you can find HERE. The I have also made loads of in the past. These I made to keep on hand when I need to give a gift to someone. Sometimes when we go to visit friends it's customary to buy chocolates or cakes to take as a gift so these will come in handy and won't pack on the calories.

The tutorial is for a boys wallet but I made mine in girly fabrics so if you want them for a boy just make them the same and change the fabric.


If you've made it to the end of this post, thank you very much for staying with me. I've enjoyed sharing my creations with you.

See you tomorrow when I'll be showing you a pouch I tested.

~ Maria ~


Thursday, January 29, 2015

Valentina Versatile Tote

I'm really thrilled with the way this bag came out. I was lucky to be a tester for The Valentina Tote by CloBird Designs.

This is the perfect pattern for a confident beginner. Karis's pattern is well written and has over 60 photos, perfect for the visual sewer.


I used a grey upholstery fabric for the main bag and a kind of tapestry for the front pocket which is large enough for a tablet or ipad and closes with a magnetic button. I wasn't sure the large print would work on this bag but I'm really happy with it and it's my favourite colour.


The pattern has the option of making an adjustable detachable strap which I didn't make.


Valentina has a recessed zipper to keep everything secure and inside there is a three compartment slip pocket with box pleat, one for a pen, a cell phone and the third for anything else you want to keep separate like keys.


Just lately I've been doing a wavy quilting stitch on my bags I wanted to keep this one simple but couldn't resist the urge to add just a bit of wavy stitching so I used it on the under side of the bag on the gusset.
 

Valentina is just the right size, I don't carry large bags unless I'm going away or if I'm going fabric shopping in which case the bigger the better LOL. This one measures  13"W x 10"H x 3.5" D which is perfect for carrying everything that essential.

If you'd like to buy the Valentina pattern you can go over to CRAFTSY for the pattern and if you're one of those people that like to tweak patterns then this one is perfect, try adding a slip pocket on the back or even a zipper pocket. More pockets can be added to the inside too. You could also leave out the corner accents for a plainer look. So many possibilities with this one that you could make a whole bunch of them and they would all look different.

Well it's nearly the end of January and a busy month it's been. I still have some more things to show you before it finishes so stay tuned.

Happy Sewing

~ Maria ~


Wednesday, January 28, 2015

Rosanna Tote Bag

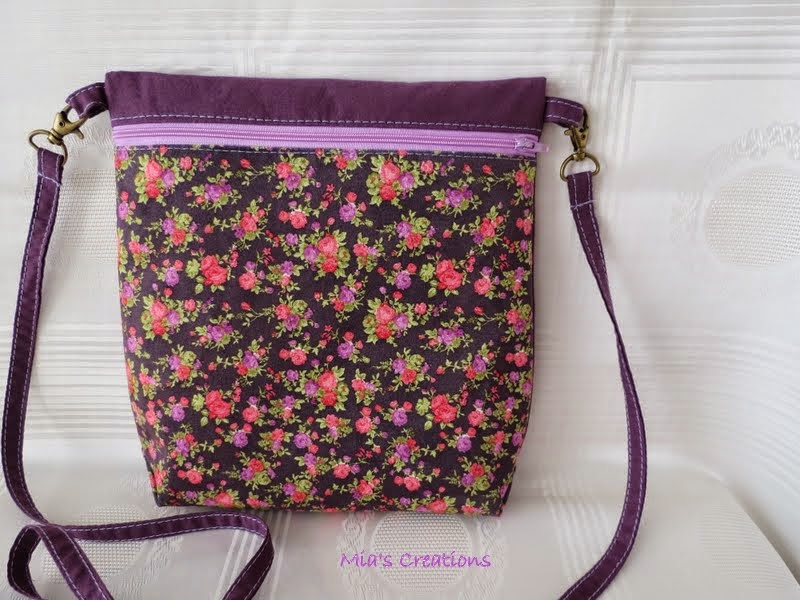
This is the latest design by Maria from Delinda Boutique. It's called the Rosanna Tote Bag.

Rosanna is a very large tote measuring 17.5 inches (44 cm) across the widest part, 16 inches (41cm) across the narrowest part, 3 inches (7.5 cm) deep and 17.5 inches (44 cm) high and if you think that's too big then you have the option to reduce the pattern when printing to get two other sizes.

Small size bag, print it at 80% - bag size will be 13.5” (34 cm) high and 13.5”(34 cm) wide or
Medium size bag, print it at 90% and the bag size will be 15.5” (39 cm) high and 15.5”(39 cm) wide.

I made the largest one and it is big but I love it and will be perfect for trips away or for when I go fabric shopping and fabric mysteriously happens to come home with me. Lots of room to hide it all LOLLL

Another feature I liked about the bag was the patchwork panel on the front which was made according to the measurements in the pattern but you could do any kind of patchwork design you like or even use it to show off a pretty fabric.


This bird fabric is a bit special to me becasue it was sent to me by my dear friend Samantha Jane Hussey who I test for. A pouch would be nice in this fabric to go with the bag.


The side gusset is a triangular shape to give more room to the bag.
Oh and yes I had to quilt it all in my wavy quilting stitch.


I have used an ordinary zipper instead of a hidden zipper like in the pattern. My fabrics were very thick so I didn't think it would work well but the other testers did theirs and they look great.


The green floral fabric I bought from Spain about 4 years ago with the intention of making a blouse but as I'm not keen on making clothes any more I used it for the back of this bag.


Rosanna is excellent for a confident beginner and if zippers still scare you then you can just leave them out. On the back you could even add a large slip pocket instead of a zipper one.


I couldn't resist this colour for the lining which I also used in the patchwork panel on the front.
Inside there are three deep slip pockets. The pattern also has two options for the main closure, a zip or a magnetic button. I chose the button, it's such a large bag I can't imagine loosing anything.


The inside is very spacious so you could add more slip pockets to the other side or even a zipper pocket. It's the kind of bag you can really experiment with and make it unique.
If you'd like to give it a go then you can buy the pattern from Delinda Boutique on ETSY or CRAFTSY and while you're there make sure to check out the other bag designs.

The designer Maria Petrova has some gorgeous bag designs. She has already sent another for testing which I can't wait to start. I've bought my fabric which I love but can't say any more. We have a couple of weeks to make it and then I'll be able to show it to you.

Happy Sewing

~ Maria ~

Saturday, January 24, 2015

Grow Your Blog Party

This is the second year I'm taking part in the Grow Your Blog Party which is being hosted by Vicki at 2 Bags Full

This event is designed to help bloggers find new followers but more importantly to make new friends, so for those of you who are just visiting my blog for the first time, a very big welcome to you and hope you'll stop a while to take a look around.


Last year was so much fun visiting all the blogs that took part and it was a good way of finding new blogs and friends that I would have probably missed otherwise.

Before I start I want to say a very big thank you to all my faithful followers who always inspire me to create with their lovely comments and for those of you who are new to my blog now's the time to tell you a bit about myself so here we go.

My name is Maria, born in Spain, brought up in the UK from the age of three where I lived until 20 years ago when I moved to the Middle East. I'm married with two wonderful kids. My daughter is 26 and studied Textile and Fashion Design and now does what I do for a living only on a much larger scale and my son who's 23 is still at uni studying Physical Education.

I started blogging in November 2011 just to keep a record of the things I make and never imagined I would make so many wonderful internet friends becasue of it.

A few years ago I started doing bag testing and now it's a full time job for me. All the designers I test for are wonderful people and some have become close friends. You know who you are, I don't want to name names LOLL. I sell most of what I make but on occasion will keep some things for myself. I'm very fortunate to have a job that is my passion.

This blog started with bags and then I got into quilting and loved it so much that last year I did more quilting than bag making. In fact I even tested a couple of quilt patterns which I thoroughly enjoyed. At the moment there are loads of bags on the list to test but I really would love to start a quilt and have one in mind but need to find some time.

I also love making kitchen accessories and fabric boxes/baskets. In fact if anything can be made with fabric then I'll try it out.

Here's a collection of the things I made in 2014.


I hope you've enjoyed stopping by and hope you'll leave me a comment. I'd love to hear from you and make new friends.

Happy Sewing

~ Maria ~